Translating Claroline Connect
If you've followed our pieces of advice in Your profile, you get a page similar to this one when connecting to the translation platform:
](images/translating-home.png)
Click on Manage your languages if you wish to change the languages you wish to translate.
Click on CoreBundle to choose another bundle to translate.
Lets' choose the BlogBundle for example. You get a page similar to the one below.
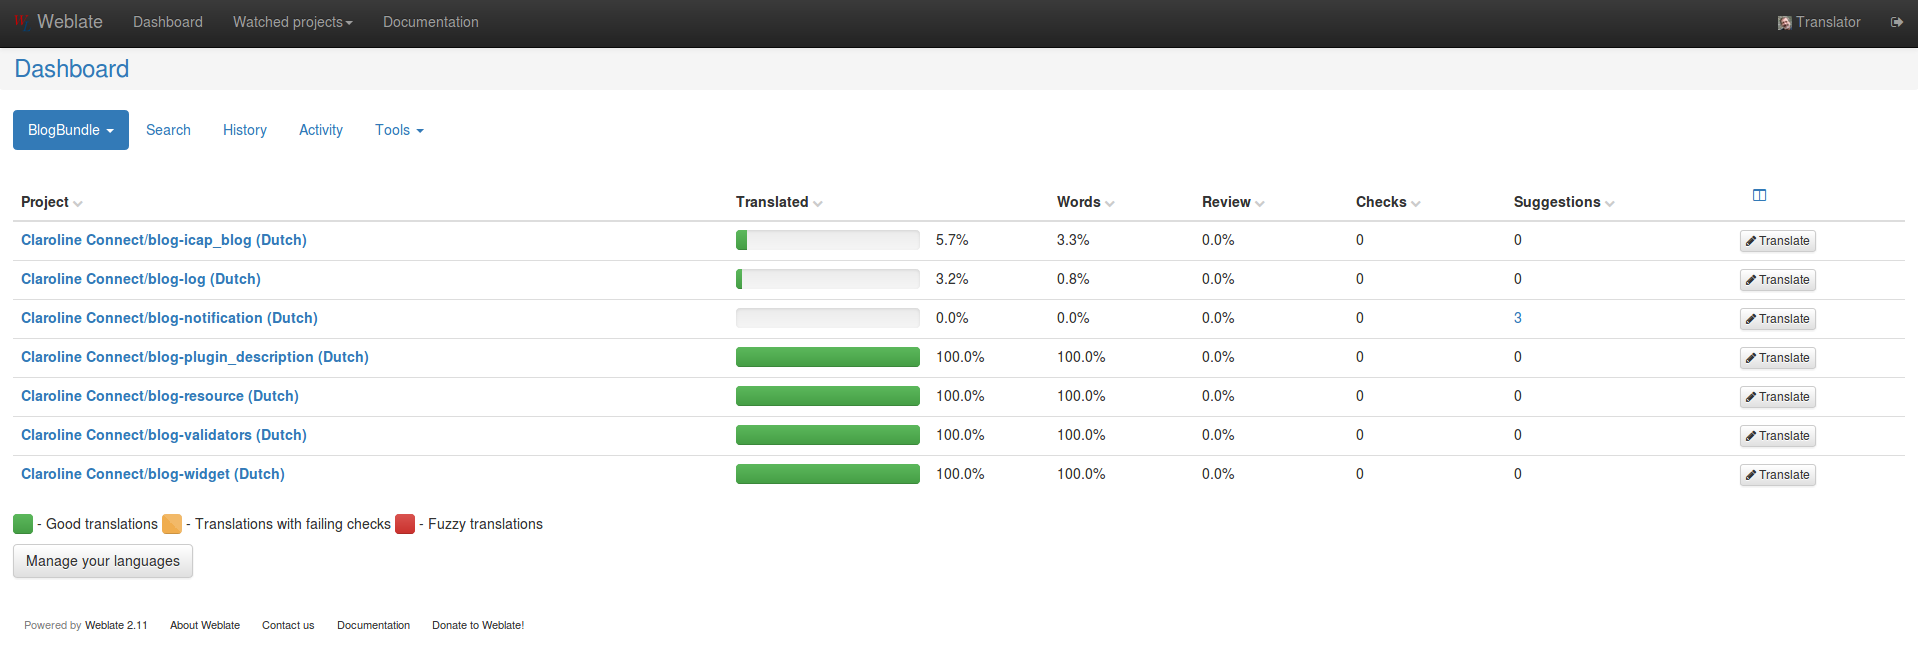
You get information about the components of the BlogBundle.
The first three aren't translated entirely.
In blog-notification, no string is translated, but you have three suggestions.
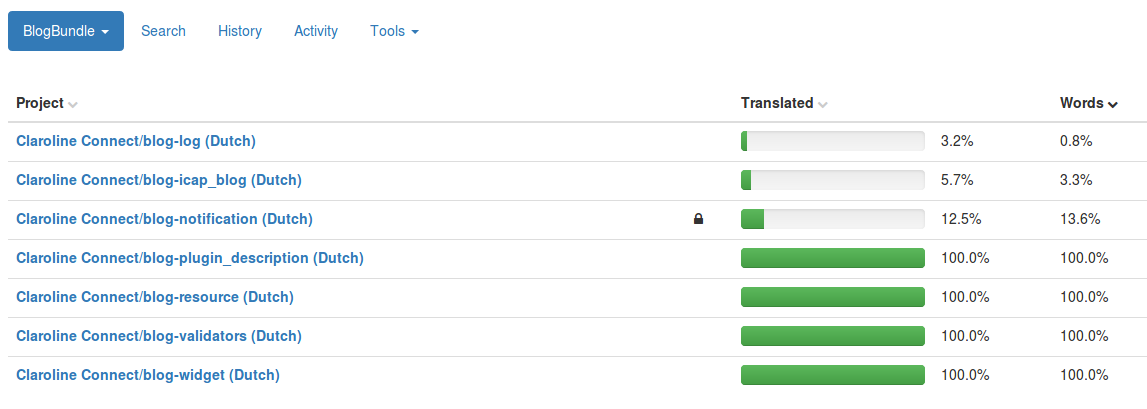
You may sort every column by clicking once or twice on its title for ascending or descending information, for example on the percentage of words translated for each component.
Starting with the "Translate" button
You may get to work immediately by clicking on the Translate button on the right of the components.
![]()
In this case, you'll have to translate string by string as shown below.
![]()
After writing your translation, you can Save it - which means you're sure it's correct - or Suggest it if you want another translator to review it later on.

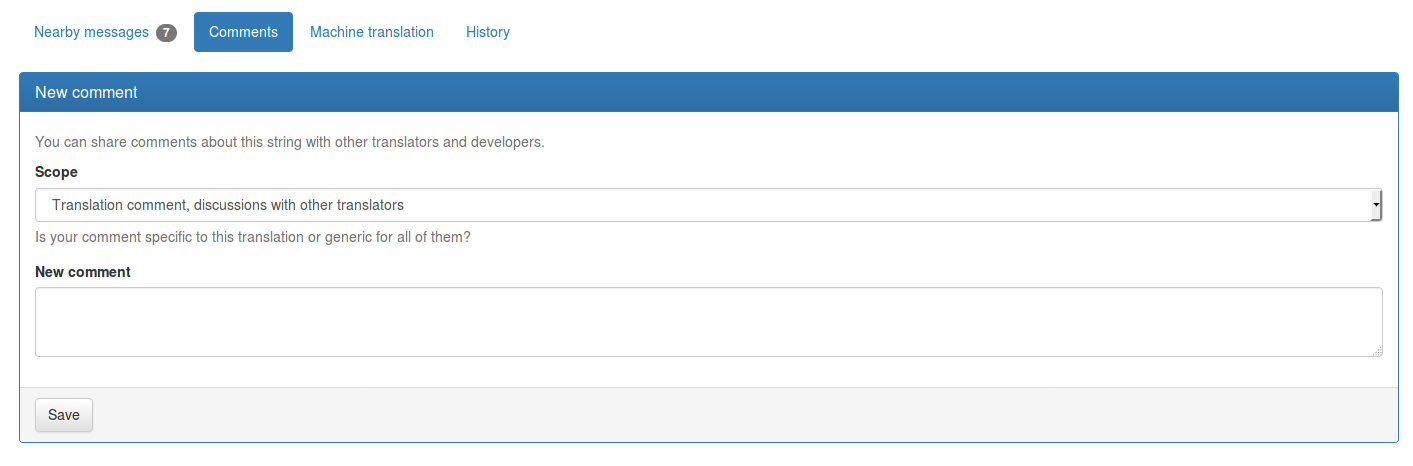
Don't hesitate to add a comment by clicking on Comments. Don't forget to Save it.
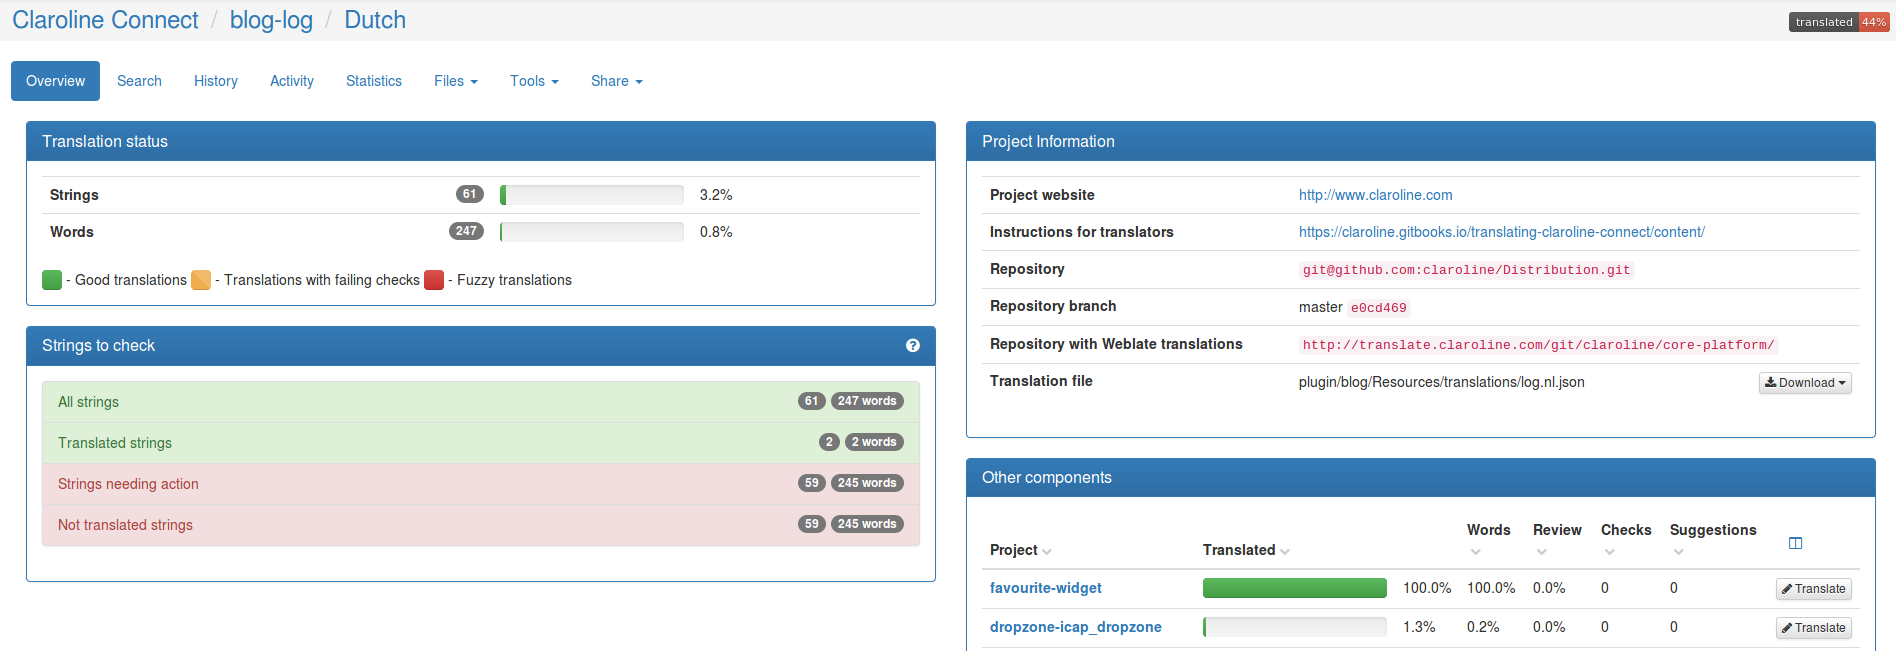
Starting by clicking on the title of the component
If you click on the title of a component, you get an overview of the job that has been done so far for it. See for example the blog-log component below: